(Note: If you really just want to know how to make yogurt, skip the seemingly obligatory preamble and go straight to the section marked “How to Make Yogurt in a Subtropical Climate When You’re Really Cheap”.)
In the Philippines, as in many parts of Asia, natural dairy products are not really part of the local culture. “Milk” usually means infant formula with added palm and coconut oil. “Cheese” is… well, I don’t know what it is, exactly – check the ingredients, of which there are many. Filipinos do produce a fairly delicious natural cottage cheese called kesong puti, but it is seldom consumed in reality, and is more something that people wistfully imagine being consumed in a romanticized version of the Philippines of yore – those quaint olden times when food was not carcinogenic and locals would put on their frilliest dresses and freshly-pressed barong and ride a kalesa to visit Calle Escolta and drink tsokolate made from fresh tableya. Those were the days, yes, but progress marches on, and we have since moved on to the wonderful, gleaming modernity of SM Megamall, Swiss Miss and Quickmelt.
This isn’t as bad as it sounds, though. I’ve long since learned to adapt, and enjoy all of the wonderful foods that are part of the local culture, like fresh tropical fruits and delicious seafood. So when I’m craving a rich, creamy taste that isn’t made with Indonesian palm oil haunted by the ghosts of dead orangutans, I can go to the market and order a bag of freshly-preshed coconut milk. Even better than the actual taste might be the experience of watching it get squeezed out in front of me by an impressively shirtless man with a hydraulic press. It’s delicious, and food doesn’t get any more natural. And oh, those abs!
With all the yummy local food here, I soon learned to nearly eliminate dairy from my diet. And when you think about it, not eating dairy seems like the most natural thing a person can do. Who, exactly, was the man or woman thousands of year ago who passed by a nursing calf, decided “That looks good!”, and swatted the calf aside to affix his or her own lips to the mother cow’s heaving udders?
However, an overseas friend of mine recently mentioned yogurt as a miraculous cure for a chronic health problem I’ve been suffering. I’ve always liked yogurt, but never really made it a staple of my diet, in spite of the undeniable awesomeness of ingesting an entire army of probiotic eco-warriors that have been gorging on milk to prepare themselves for the coming battle against bad bacteria. Unfortunately, though, the yogurt situation in the Philippines is also not great: yogurt here tends to be extremely sweet and not terribly cheap. The most commonly available unsweetened brand, the so-called Nestle “creamy” yogurt, comes across as more of a bland yogurt-flavoured beverage. Luckily, that same friend regaled me with stories of making dodgy homemade yogurt from powdered milk while working for a smoothie stand, and thusly did the gears begin to grind away inside my brain, slowly and rustily.
I Googled the steps for making yogurt, and was surprised, as I was when I first made my own cottage cheese, to learn that it can be done quite simply at home: no dairy-makers’ magic required. Here’s how I did it, with all credit due to the uncredited sites from which I pieced together my own yogurt-making process:
How to Make Yogurt in a Subtropical Climate When You’re Really Cheap
Why subtropical? Yogurt needs to ferment at a temperature that is comfortable for bacteria, and that temperature happens to be pretty close to daytime room temperature (without air conditioning) in a country like the Philippines. People in more temperate climates often have to resort to more extreme measures, like a custom-made enclosure with a heat bulb. However, people who are unfortunate enough to live in countries with actual winters are welcome to attempt the technique described here, as well.
Why really cheap? Because making yogurt from milk is a lot cheaper than buying it, at least in the Philippines, and it’s even cheaper if you’re willing to lower yourself to using powdered milk. But if you’re living the sweet life and money is no object, I think I saw a tub of high-quality imported Greek yogurt in Rustan’s for only 1000 pesos…
But making your own yogurt isn’t hard. Really, all you need is:
- Milk
- Yogurt with live active cultures
- A food thermometer (Optional)
- A casserole or cooking pot
- A second, larger casserole or cooking pot, big enough for the smaller pot to fit entirely inside it (Optional)
- A whisk (Optional)
A bit more about each of the required items:
Milk: You can use fresh or powdered milk. In the Philippines, UHT (Ultra-High Temperature-treated) milk from Australia and New Zealand is sold in tetra-paks that are stored at room temperature, and although I don’t consider UHT milk an abomination in the way that many milk purists do, I find the good brands a bit too pricey to purchase regularly. I have heard that some UHT brands don’t work well for yogurt, but my friend here swears by the Harvey Fresh brand from Australia. (I really like to read its name with an Australian accent, as “Hahvey Fresh”. It brings me joy.) As the cheapest person in the world, I personally prefer to use powdered milk, and specifically the Milk Magic brand, which is very inexpensive and doesn’t have any icky vegetable oil or fortification. Aside from being cheaper, powdered milk also has the advantage of being easily thickened to your heart’s content. And although powdered milk has a distinctive flavour, it’s much less noticeable in yogurt form. The main problem is the presence of oxidized cholesterol in whole cream powdered milk, which pretty much sounds like the worst thing ever, so if you’re using powdered milk, try to use make it mostly or entirely skim. Whatever you do, don’t waste your money on cartons of so-called “filled” or “reconstituted” milk, which is basically milk powder and water, and which you could easily make at home while paying a fraction of the price and, more importantly, not being a total sucker.
Yogurt with live active cultures: Yes, yogurt is an ingredient in yogurt: you need the lactobacillus bacteria from an existing batch of yogurt to start the fermentation process. Storebought yogurt is what most yogurt newbies start with – make sure to buy a brand that actually says live active cultures on the packaging, as some brands are barren, lifeless, and basically not really yogurt. Ideally your starter should be unflavoured, unless you’re OK with a faint artificial blueberry favour or a few stray bits of jelly in your homemade yogurt. However, unflavoured but sweetened yogurt isn’t so bad if you’re just using a little bit to get things going. In spite of my Nestle-bashing above, I’ve used their small containers (around 150 mL) of unflavoured yogurt with live active cultures as a starter, and it’s worked quite well. Once you’ve started making yogurt, you can use your own yogurt as a starter – more on that later!
Food thermometer: Depending on the technique you choose, this may be useful for regulating the temperature of the milk to keep the fermenting bacteria nice and warm without cooking them to death. I got one at Shopwise Alabang for 250 pesos, and my investment is rapidly amortizing as I produce innumerable batches of pretty-good yogurt.
More on the whisk and cooking pot(s) later.
Step 1:
Here’s my setup as I prepare to play God, creating bacterial life with reckless disregard for the consequences.
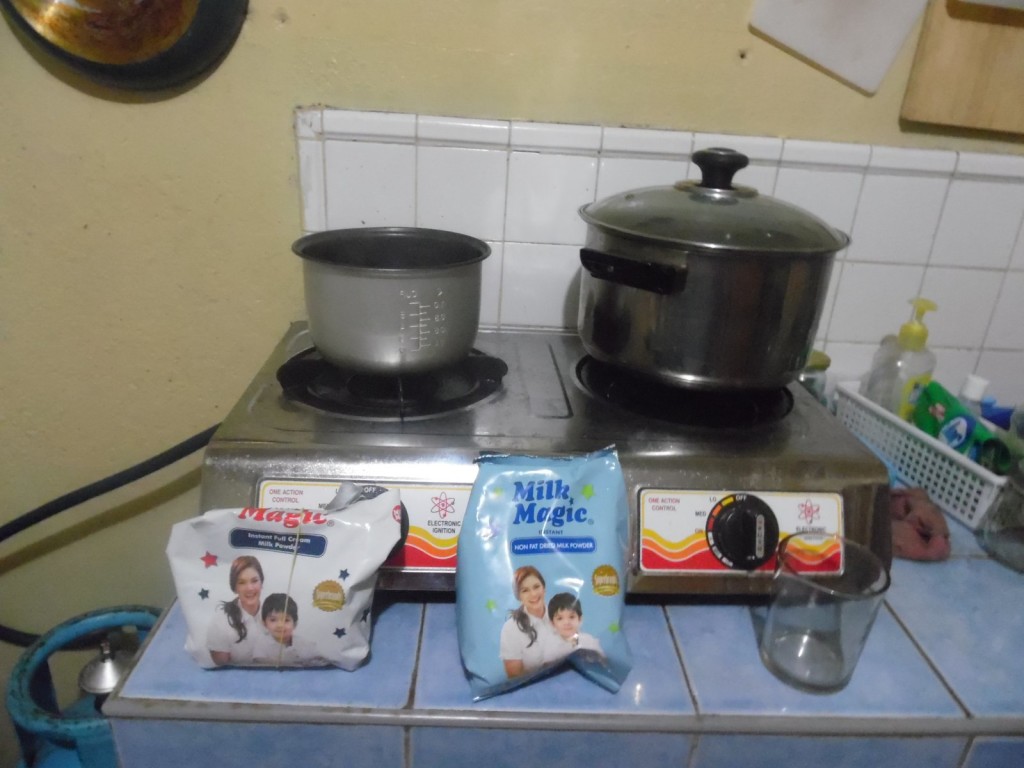
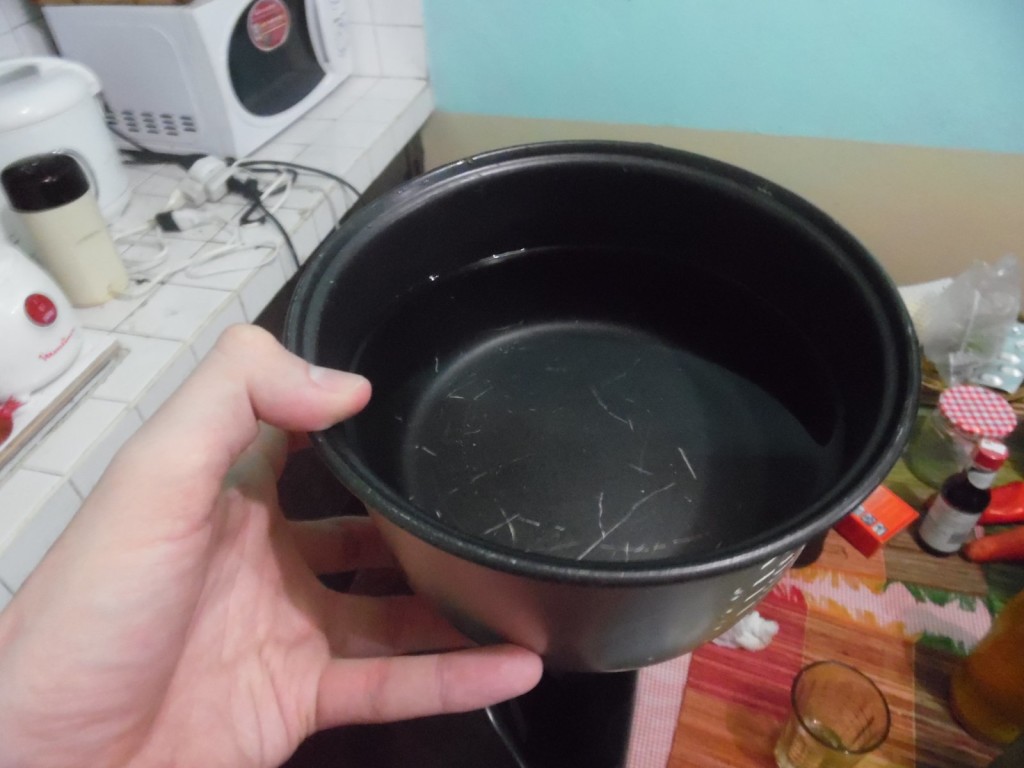
If using powdered milk: Fill your cooking pot (or if you’re using two, the smaller of the cooking pots) with clean water. I use a small rice cooker pot because it makes a decent-sized batch of yogurt while still being small enough to fit inside one of my casseroles, but use whatever works for you. And cleanliness is important when you’re basically leaving a pot of milk out to breed bacteria – You don’t want any of the less yummy bugs to join the party. I try to keep things as sterile as possible for the whole process.
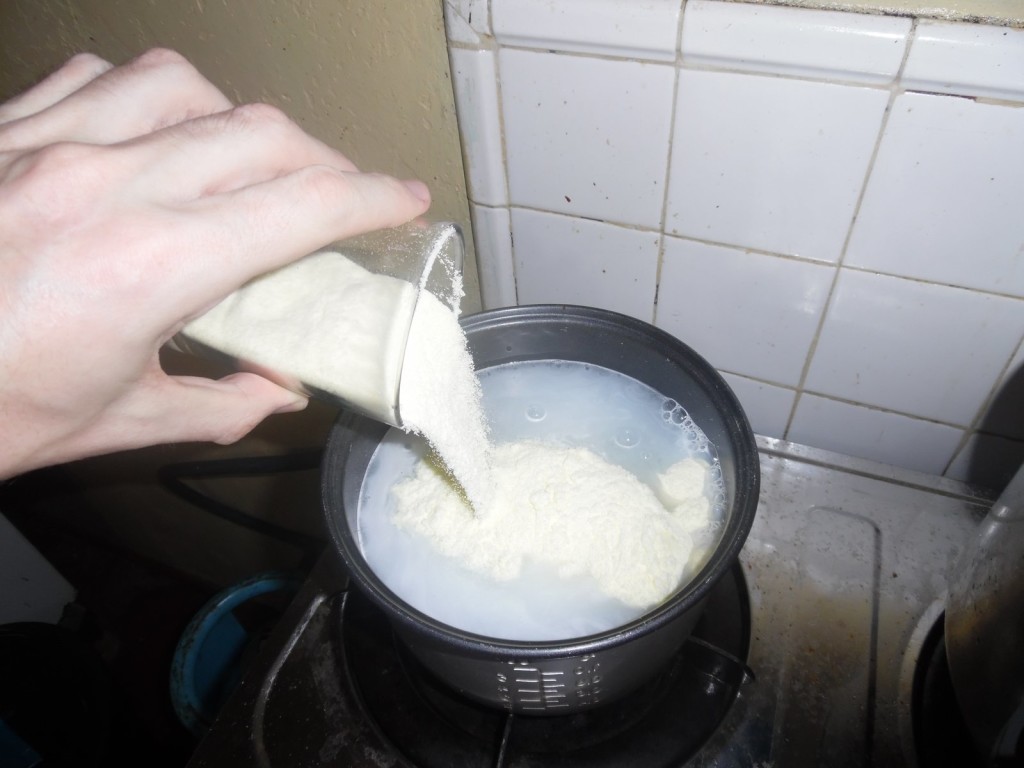
I like to whisk the milk in (with a clean whisk!) after heating up the water a bit (see Steps 2 and 3), on the assumption that it will dissolve better. (I seem to make a lot of assumptions.) Milk Magic instructs you to use 1 part milk powder for every 5 parts of water, but I tend to make it more like 1 1/2 cups of milk powder to 5 cups of water to thicken it a bit. Everytime I make it I use a higher proportion of skim cream powder and a lower proportion of full cream powder, because I DON’T WANNA DIE. Only using full-cream powder will also work fine (if you don’t mind dying), and pure skim milk powder should work as well (if you don’t mind living).
If using fresh milk: Add milk to pot. I promise it’s not as hard as it sounds!
Step 2 (Optional):
Some web sites I’ve read say that you’ll get a thicker yogurt if you simmer the milk for 10 minutes at 180° F/82° C. I haven’t done controlled testing to confirm this, but it does seem to help. Watch the temperature closely (the food thermometer helps here) and do some stirring, since the milk will burn quite easily if you raise the temperature even a few degrees extra. To maintain an appropriate temperature, I try to lower the heat on my gas stove as much as possible without having the flame go out and leak gas and explode and kill me or just horribly mutilate me, but even at the lowest flame the milk can potentially get too hot. Sometimes I get frustrated with how easily it sticks and just turn it off early, hoping that the residual heat will still thicken the milk. Does it work? Who knows! Like everything else that we don’t know in life, there is simply no way to find out!

Step 3 (Optional):
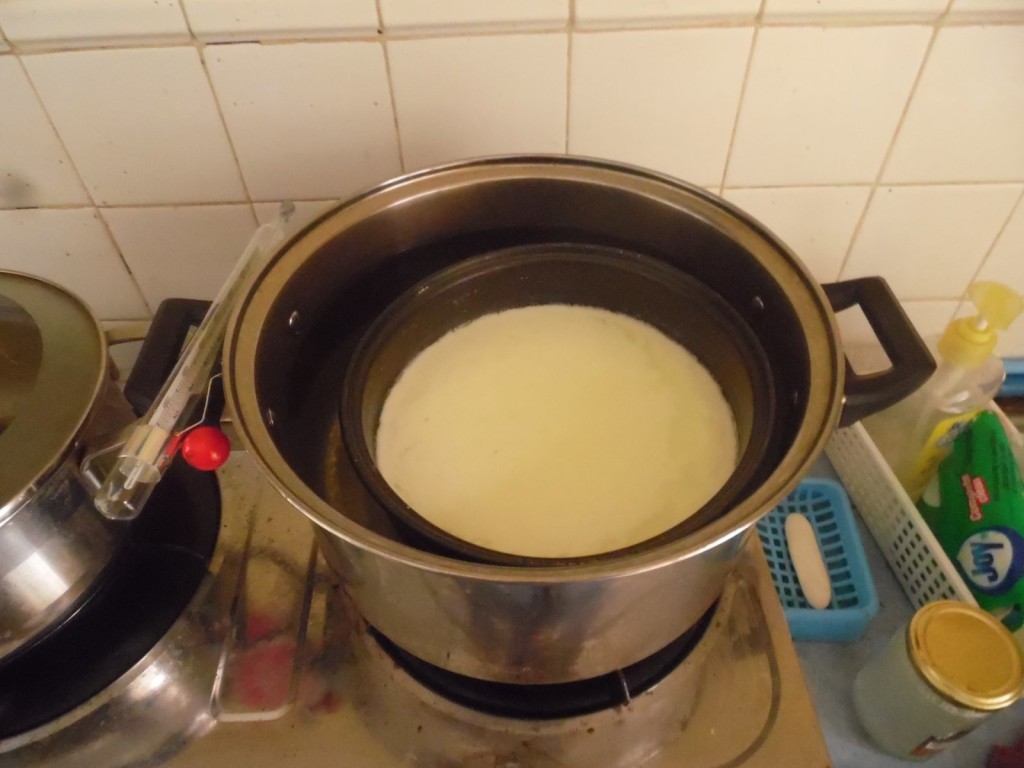
If you have two pots available that fit inside each other, we will now attempt to create a temperature-controlled environment for our little critters to frolick in! Hopefully this will give you a more controlled fermentation process and ensure that you get good yogurt before strange and terrible things start happening to your milk from being out for too long.
Fill the larger pot about halfway with water (it doesn’t have to be clean).

Carefully immerse the smaller pot inside it – If you’ve pre-heated the milk, the pot will be hot, and this will be a bit difficult to do. However, this has the benefit of cooling down the milk much faster while also warming up the surrounding water. For someone as impatient as me, it is not an insignificant benefit!
You can leave it for a while until the milk and the outer water cool down to about 115° F/ 46° C. If you’re impatient, remove the milk and change the water once after about 5 minutes.
Step 4:
With or without the optional steps, you should now hopefully have a pot of milk that is ready to become a lactobacillus farm. If you skipped steps 2 and 3, you might consider carefully warming your milk to 115° F/46° C on the stove – it doesn’t take much. Check the temperature one last time before you add your culture – the bacteria apparently thrive between 100° F/38° C and 115° F/46° C, and will DIE if you let the temperature of the milk rise above 120° F/49° C or so. YOU WILL BE A KILLER. IF THEY HAD BLOOD, IT WOULD BE ON YOUR HANDS.

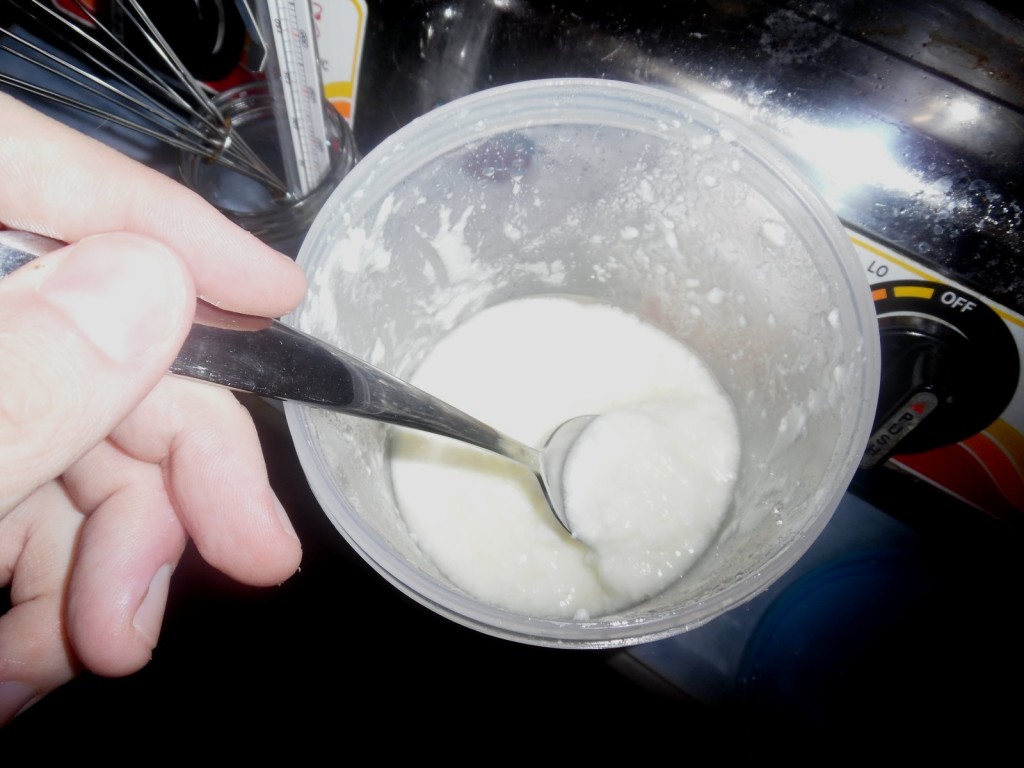
Now whisk or stir the starter culture into the milk very thoroughly. In this case I used some of my leftover yogurt from an earlier batch, but you’re welcome to use something with the face of a smiling child on it. A couple of tablespoons seem to suffice for a batch of this size, although I get the impression that adding more can speed up the fermentation process.
Step 5:
Next, cover the pot (if you’re using two, then the outer one). And here comes the tedious part. Depending on how seriously you take the idea of regulating temperature, and also depending on whether it’s noon in April or midnight in December, you may want to apply brief bursts of heat on the stove to boost the temperature back up to 115° F/46° C. You could aim to do this every 45 minutes or so, but you’ll eventually figure out how often it’s actually necessary. If you’re using two pots, you can reduce the risk of contamination by measuring the temperature of the water in the outer pot; this also removes the need to obsessively sterilize your food thermometer.
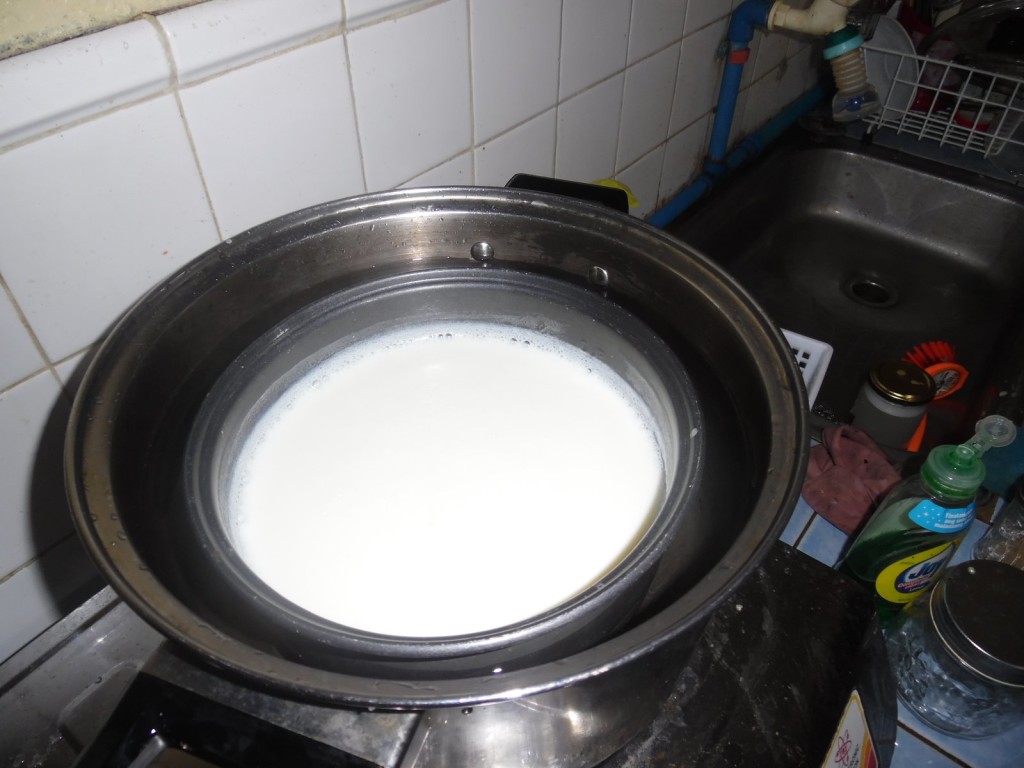
After a couple of hours of this, you should notice a change in texture in the yogurt, as the milk solids begin to separate from the whey. After four hours or so, you should have something pretty yogurty. I max out on my control freak impulses after 6 hours or so, and then give it a final heat boost and leave it overnight to allow the yogurt party to slowly peter out. Leaving it longer will make it more sour, and presumably richer in probiotics, although if you leave it too long the bacteria may all starve to death (YOU MONSTER!!!), or worse still, the yogurt may become sentient and go on a murderous rampage.
At the end of it all, assuming you haven’t completely ruined all your hard work through any one of many easy-to-make and utterly catastrophic mistakes, you will have something that is quite clearly yogurt! If it smells pleasant, doesn’t appear discoloured, and passes the all-important taste test, you should be good. Transfer it to a storage container, draining or stirring in the whey that has separated out. You can even drink the whey, allowing yourself to briefly feel like a bodybuilder without any of the hassle of actually being in shape!
You can also use your new batch of yogurt as a starter for future batches of yogurt. You can simply keep using the latest batch to make the best match, but for reasons a non-microbiologist like me cannot understand, the bacteria apparently “weaken” across multiple generations. An alternative is to freeze small portions of your first batch of yogurt made from a store-bought starter, and thaw one out whenever you’re ready to have a yogurt party!!!
For a few pesos a day and using a 800 peso blender from SM, I now start each morning with a huge shake made from homemade mostly-skim yogurt and local bananas. When I’m feeling frisky I’ll add some apple, dried cranberries, or whatever else I think might enhance the flavour. So far nothing has been better than plain old banana, with the possible exception of banana-mango: I’m pretty excited for summer to arrive, and the mango season with it. But whatever I add to my shake, having daily reinforcements for my probiotic army has given my health a significant boost, in addition to the smarmy sense of self-worth that comes with starting each day with a certified superfood. And now you, too, can be just as smarmy as me. My friends, it’s time to go food thermometer shopping!
Full disclosure: While preparing the yogurt featured in this ravishing pictorial, I was lured outside for a night out with friends after only one or two hours of obsessive temperature control – this in spite of the fact that making yogurt at home is surely the sexiest way to spend a Saturday night. I suspect my negligence is the reason why the yogurt in the last picture looks a bit lumpy, whereas my usual control-freak yogurt is unnervingly smooth. Still, the end result had a good taste and texture, so you may want to ignore about 50% of what I’ve written here – you choose which 50%!
Nice! I wonder which yoghurt brand are you using here?
Nice! I wonder which yoghurt brand are you using here? Thanks
Well, I just used normal unsweetened Nestle yogurt as my starter… Whichever one they sell in 500g tubs in better! supermarkets oin the Philippines
Hello! So happy to have come across this blog!! If I may, I’d like to clarify a few points:
1. Can I use a yogurt starter clulture?
2. Is it ok NOT to heat the milk and instead, just mix the water and powder, add culture and then incubate ?
I’ll try to make another one. The first one i made was a lousy one. Nothing came out right.